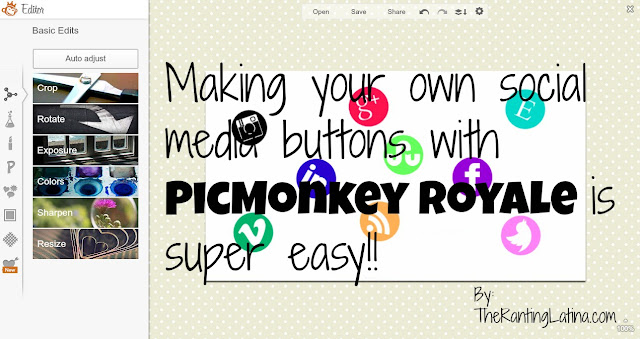
Making Social Media Buttons With PicMonkey Royale: A TUTORIAL
Disclaimer: The PicMonkey links you’ll see below are affiliate links, meaning I’ll be compensated once you upgrade to PicMonkey Royale (please do!) The views I express below are solely my own. Also, Free PicMonkey now gives you access to the previously-Royale features i discuss below, so yay!
This is Part 1 of a three-part series on making your own social media buttons. It will teach you to make them using PicMonkey’s (paid) Royale plan. Part 2, which is coming next week, will teach you to make more customized buttons using PicMonkey’s FREE option. As you’ll see, each option has its pros and its cons.
~ ~ ~
You’ve all seen them by now, I’m sure: Those cute, custom, matchy-matchy professional-looking social media buttons at the top of most websites/blogs. I bet you’re wondering HOW in the world you could get your own custom buttons: Is it expensive? Who should I hire to make them for me? WHERE can I get them?
Well fear not, my dears, b/c I’m here to the rescue! But first, let me answer the Qs I posed above: No, it’s not expensive (in fact, it’s FREE! Well, to an extent depending on which web app you work with); no, you don’t need to hire ANYONE (other than YOURSELF!); and no, you don’t need to “get” them elsewhere, per se (because I’ll be teaching you to MAKE your own widget!).
1. PicMonkey Royale*: I may own the entire Adobe suite, but, as you’ll see, I nevertheless subscribed to PicMonkey Royale b/c it makes the whole process of editing an image such. a. BREEZE.
I should probably just watch more Adobe tutorials, no? : )
*In any case, you’ll need $33 to subscribe to the plan. (That’s $33 for a whole year OR <$3 per month.) Many people have asked whether this subscription is really necessary.. In short, you guys, it REALLY is as it’s what pretty much lets you work with exclusive fonts, effects, outlays etc. In Part 2 (see link above) I’ll teach you other alternatives to using the paid/Royale plan of PicMonkey.
2. Social media icons: These are the basic ingredients to the actual recipe of a really sweet social media widget.
>>> THESE ONES are my favorites b/c they include practically every relevant social network (except for Vine!). I’d also recommend these ones.
3. Time: Your first time going through this will probably take you a half hr. to an hr. Next time I guarantee it’ll take you WAY less than that.
READY, SET, GO!
DESIGNING YOUR WIDGET
1. Search for and download an image of a white background, or a white square/rectangle/whatever. This one works.
2. Upload that image onto PicMonkey.
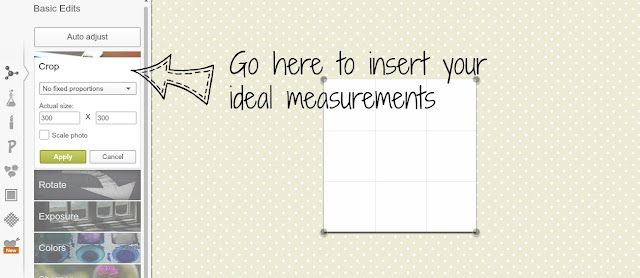
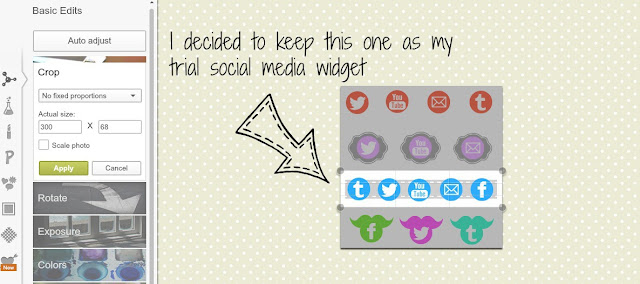
3. Go to the “Basic Edits” tab, then to the “Crop” option, and crop it to your desired size. Then, click “Apply.” I like keeping a width of 300px as my sidebar’s a tad wider than that BUT this part really depends on you.
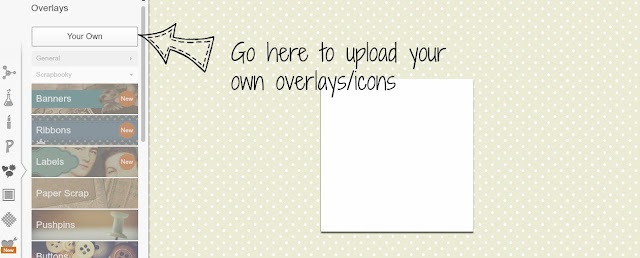
4. Now go to the “Overlays” tab and select “Your Own” because you wish to work with the icons you’ve downloaded. THIS IS JUST ONE WAY THAT Royale PAYS OFF AS THE FREE PICMONKEY DOESN’T OFFER THIS OPTION ANYMORE. (If you’d like to know about a free alternative to PicMonkey to create your own social media buttons/widget, stay tuned for Part 2 of my tutorial!)
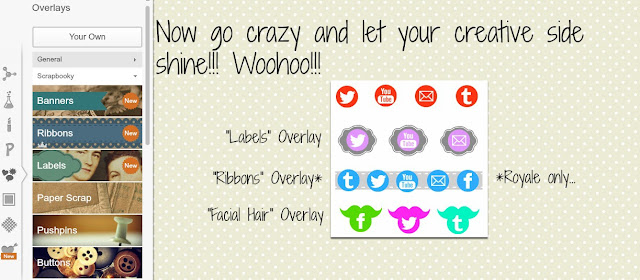
9. The next screen should look like this (but with YOUR own row of icons, obviously):
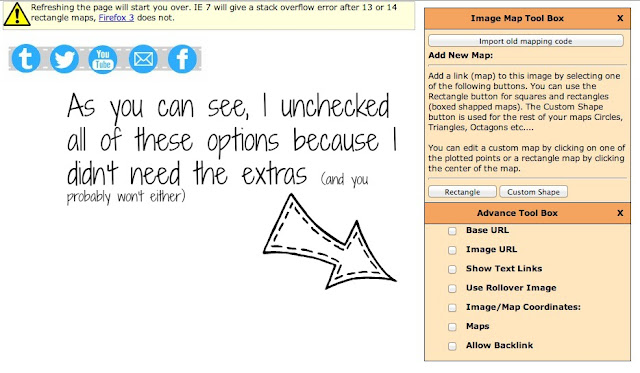 |
| Those extra options are unnecessary. |
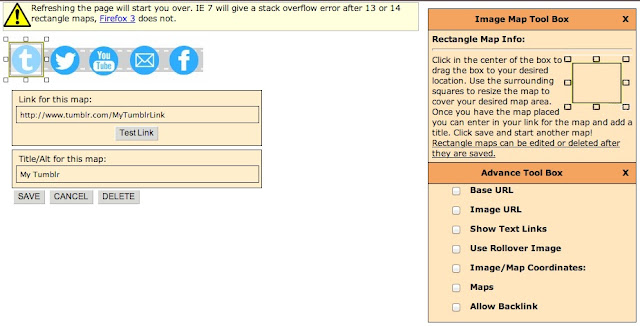
… And then hit “SAVE.”
12. Repeat steps 10 and 11 for all your icons/links.
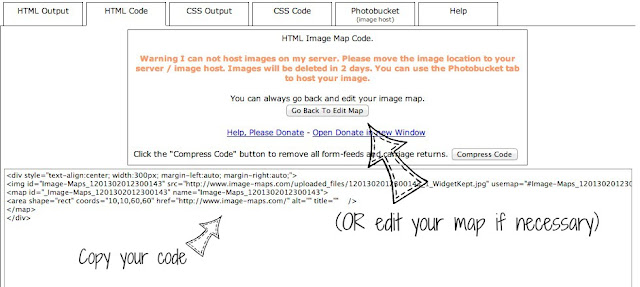
13. After you’re all done adding all your links, Click on “Get Your Code.”
14. The next screen can seem overwhelming, but just remember to focus on the TOP of it. Specifically, you want to pick “HTML Code.”
15. Next, either copy the resulting code OR edit your map if necessary.
Now I bet you’re dying to install your gorgeous new widget now, right?! : ) Well, what are you waiting for?!
INSTALLING YOUR WIDGET (Blogger)
16. Go to “Layout” >> Add A Gadget (in your desired location) >> HTML/JavaScript >> Paste your code >> Save >> Move your gadget if needed.
ANNNNND YOU’RE FINISHED!
FELICITACIONES! You now have a beautiful, custom, professional-looking, brand-spankin’ new social media widget made by awesome YOU!
Doesn’t it feel wonderful?! :D What did you think? As always, please feel free to ask me any questions below or by contacting me personally.
WHAT IF YOU DON’T WANT TO MAKE YOUR OWN WIDGET?
If you’re NOT in the mood to make your own widget, I’ll be MORE than happy to make it for you! We can discuss this more, obviously, but all I’d ask in return is that you let me advertise my blog on your blog : ). Contact me for more info.
MORE TUTORIALS, POR FAVOR!!!
Hahaha ok, ok! I promise I’ll have the other tutorials on how to make your widget using both another web app and the free-free version of PicMonkey within the next couple of weeks tops. Until then, feel free to check out more of my blog and even subscribe so you don’t miss these tutorials or any other of my cool posts!
GRACIAS for stopping by, my dears, and I hope you enjoyed and learned a lot from this tutorial. Hasta la vista, baby!

